When you are planning snacks for a beach day with kids, the goal is usually the same. You want something refreshing, easy to pack, and simple for little hands to enjoy without turning the entire cooler into a sticky mess.
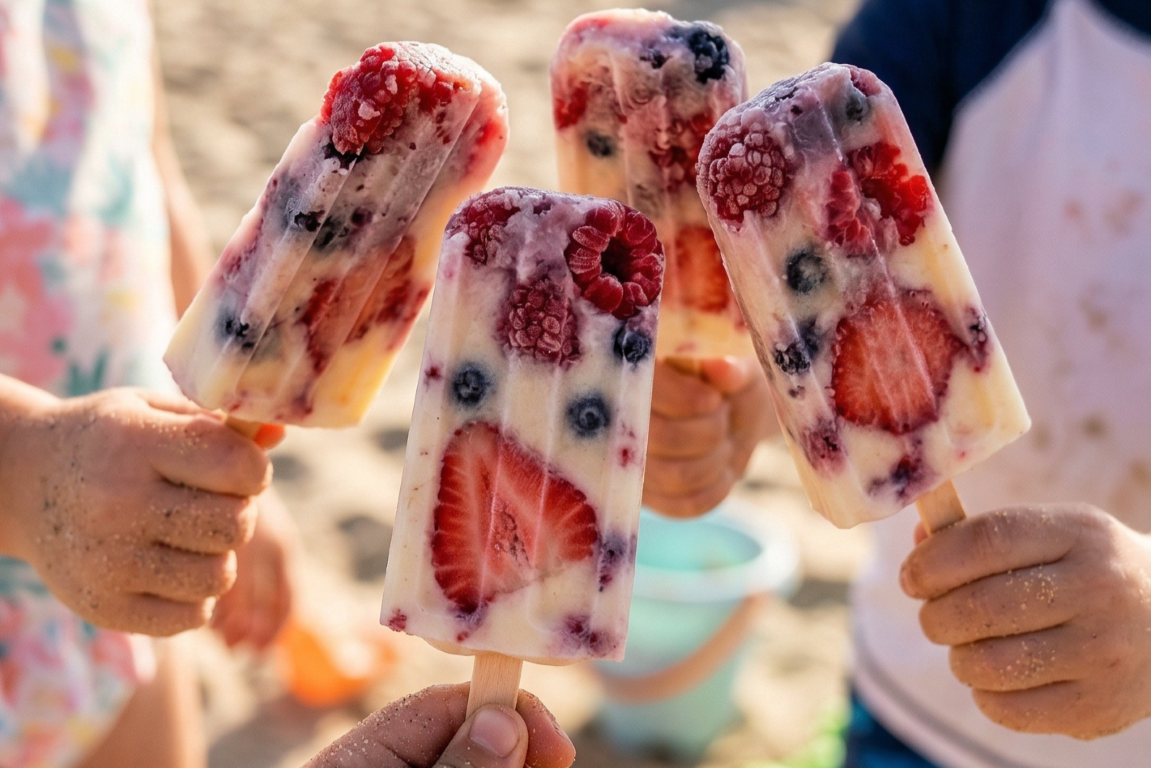
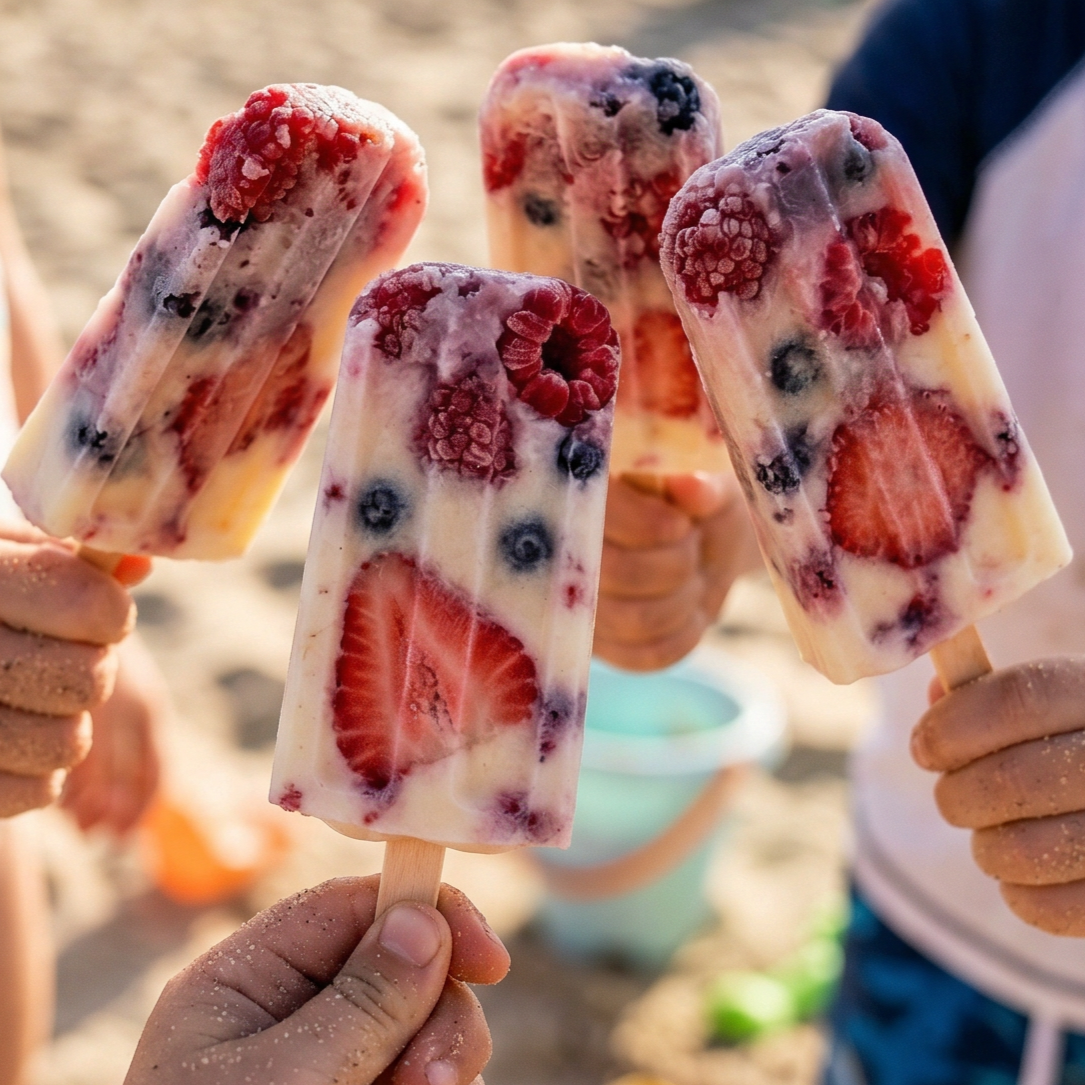
That is exactly why Frozen Yogurt Berry Pops work so well for families heading to the beach. They are cold, fruity, and creamy, which makes them feel like a treat, but they are also made with ingredients parents usually feel good about serving. Even better, they can be made ahead of time and packed right into your cooler before you leave the house.
Let’s talk about how to make the process easier and how to get the best results when bringing these pops along for a family beach day.
TL;DR: Frozen Yogurt Berry Pops
Frozen Yogurt Berry Pops are a simple, refreshing beach snack that kids and toddlers love. Made with creamy yogurt and real berries, they are easy to prepare ahead of time and pack neatly into a cooler for a hot beach day. Using smaller molds for toddlers and larger molds for kids helps make them easier to hold and enjoy while playing in the sand.
Why Frozen Yogurt Pops Are Great For The Beach
Beach snacks need to do a few things well. They need to travel easily, handle cooler storage, and be enjoyable after kids have spent time running around in the sun.
Frozen yogurt pops check all of those boxes.
After a couple hours of swimming, digging, and exploring, kids usually start feeling the heat. A frozen snack helps them cool down quickly while also giving them a little boost of energy.
Parents also appreciate that yogurt based treats tend to melt slower than many juice based popsicles. This means kids actually get time to enjoy them instead of watching them disappear into sticky puddles.
Another benefit is portion control. Each pop is already portioned, which makes it easy to hand one out to each child without opening multiple snack containers.
Why Kids And Toddlers Love Frozen Yogurt Berry Pops
If you have ever tried to convince a child to eat something healthy while they are busy playing at the beach, you know the challenge. That is why frozen yogurt pops are such a helpful option.
Kids see them as a fun treat.
Parents know they are getting yogurt, fruit, and a naturally sweet flavor that keeps everyone happy.
The creamy texture is also easier for younger children to eat compared to crunchy snacks that might mix with sand or get dropped easily. Popsicles are simple to hold, and kids enjoy walking around while eating them.
For toddlers, the cold temperature can also feel soothing, especially during warm beach days when they may get tired more quickly than older kids.
Choosing The Right Popsicle Molds For Toddlers And Kids
One small detail that makes a big difference is the type of popsicle mold you use.
For toddlers, smaller silicone molds with a ring style handle tend to work best. The ring handle allows toddlers to grip the pop easily without squeezing too hard or dropping it. Smaller molds also create shorter pops that melt at a manageable pace.
For older kids, larger molds are usually perfect. They hold more yogurt mixture and create a snack that feels a little more satisfying after swimming or running around on the beach.
Many parents like to keep both sizes at home so they can make different batches depending on who will be eating them.
You will also find some kitchen sets that include both molds and storage containers together, which makes it easier to freeze, store, and transport the pops all in one place. These types of sets can be especially helpful when you plan to make frozen treats regularly.
Getting The Best Texture And Flavor
The key to great frozen yogurt pops is balance. You want them creamy, flavorful, and easy to remove from the molds.
Greek yogurt tends to produce a thicker and creamier result compared to regular yogurt. If the mixture feels too thick while blending, adding a small splash of milk helps smooth everything out.
Blending the fruit thoroughly also helps avoid icy chunks and keeps the texture smooth. Berries like strawberries and blueberries are especially popular because they provide natural sweetness and bright flavor.
Another helpful tip is to freeze the pops fully overnight when possible. This ensures they are firm enough to travel well in a cooler.
Storing Frozen Yogurt Pops Before The Beach
Once your pops are frozen, proper storage helps them stay fresh and ready for your next beach trip.
After removing them from the molds, place the pops into an airtight container or freezer safe storage box. This prevents freezer burn and keeps them from absorbing other freezer odors.
Many parents prefer using stackable frozen treat containers, which are designed specifically to hold popsicles upright. These containers can make it much easier to grab a few pops quickly when packing the cooler.
Stored properly, frozen yogurt pops usually stay fresh in the freezer for up to two weeks.
Packing Frozen Yogurt Pops For The Beach
Transporting frozen treats to the beach is easier than many parents expect.
The most important step is placing them between ice packs inside the cooler. This helps keep them frozen longer and prevents them from melting before snack time.
Some families also like to wrap each pop in parchment paper before placing them into a container. This keeps them from sticking together and makes it easier to hand them out quickly.
If you know the beach trip will be longer, consider placing the pops inside a small insulated food container before putting that container into your cooler. This creates an extra layer of insulation that helps them stay frozen even longer.
Serving Frozen Yogurt Pops At The Beach
When it is time for a snack break, these pops are easy to serve.
Simply remove a few pops from the cooler and hand them out. Kids often enjoy sitting under an umbrella or beach tent while enjoying something cold before heading back to the water.
For toddlers, it can help to bring a small cup or bowl. If the pop starts melting slightly, the drips will fall into the cup instead of onto sandy hands.
Because the ingredients are simple and the portions are small, they make a great midday snack or cool down treat between meals.
A Simple Snack That Makes Beach Days Even Better
Beach days with kids are full of movement, laughter, and lots of energy. Having a refreshing snack waiting in the cooler can make those long sunny afternoons feel even more special.
Frozen Yogurt Berry Pops are simple to make, easy to store, and perfect for packing along on family beach trips.
Once you make them a couple of times, they quickly become one of those go to snacks that kids start asking for before the beach day even begins.
More Beach-Friendly Snack & Meal Ideas
Frequently Asked Questions About Frozen Yogurt Berry Pops
How long do Frozen Yogurt Berry Pops stay frozen at the beach?
If you pack them in an insulated cooler with plenty of ice packs, they usually stay frozen for about 2 to 4 hours depending on the outside temperature. Even when they begin to soften slightly, they turn into a creamy frozen yogurt treat that kids still love.
Can I make these the night before a beach trip?
Yes, and it is actually recommended. Freezing them overnight allows the pops to fully set, making them easier to remove from the molds and less likely to melt quickly during transport.
What type of yogurt works best for these pops?
Thick yogurt such as Greek yogurt works very well because it creates a creamy texture and holds the fruit nicely. Regular yogurt also works, but the pops may be a little softer.
Are Frozen Yogurt Berry Pops good for toddlers?
Yes, they are great for toddlers when made with simple ingredients and less added sweetener. Using small silicone molds with easy grip ring handles can make them easier for little hands to hold.
How do I keep the pops from sticking to the molds?
Let the molds sit at room temperature for about 1 to 2 minutes before removing the pops. Running the outside of the mold briefly under cool water also helps them slide out smoothly.
Can I use different fruits instead of berries?
Absolutely. Strawberries, blueberries, raspberries, and blackberries are popular choices, but mango, peaches, and bananas also work well. It is a great way to use whatever fruit your kids already enjoy.
How should I pack them for the beach?
Place the frozen pops in a sealed container or reusable freezer bag and keep them near your ice packs inside the cooler. Packing them upright helps prevent breakage and keeps them looking nice until snack time.
Frozen Yogurt Berry Pops (Refreshing Beach Snack For Kids)
Ingredients
Equipment
Method
- Add the mixed berries, honey, and vanilla extract to a blender or food processor.
- Blend until the mixture becomes smooth and the berries are fully broken down.
- If the mixture seems very thick, add one or two tablespoons of milk to help it blend more easily.
- Pour the blended berry mixture into a mixing bowl.
- Add the Greek yogurt and gently stir until everything is evenly combined.
- The mixture should be creamy with a light berry color.
- If you want a layered look in your pops, you can lightly swirl the berry puree into the yogurt instead of fully mixing it.
- Carefully spoon the yogurt mixture into the popsicle molds.
- Fill each mold almost to the top but leave a little space for expansion as the pops freeze.
- If you are using optional toppings like chopped fruit or granola, sprinkle a small amount into each mold before inserting the sticks.
- Insert popsicle sticks according to your mold instructions.
- Place the filled molds into the freezer.
- Allow them to freeze for at least four hours or until fully solid.
- Once frozen, remove them from the molds by running the outside briefly under warm water.